| Updated: 8 June, 2023 |
|

|
 |
Getting Started
1. Introduction2. Switching to GNU/Linux
3. Getting openSUSE
4. Installation
The Fundamentals
5. KDE Plasma Workspace6. Apps for Common Tasks
7. Security and Root
8. Terminal
9. Admin. Settings (YaST)
10. Installing Software
11. Software Repositories
Setup
12. MS Windows Interop13. Multimedia Codecs
14. Graphics Drivers
15. Wifi
Appendix
A: Help and DocsB: Games
C. Under the Hood
D. History and Background
E: Getting Involved
GNU Free Documentation License
4. Installation
This is just a brief description of openSUSE installation. For more thorough help see the official documentation.4.1 Before Installation
Before starting there are a few things you should be aware of.4.1.1 System Minimum Requirements
- CPU: AMD64 or Intel64 processor
- RAM: 1 GB physical RAM (2 GB recommended)
- Disk Space: 5,0 GB for a normal installation (more recommended)
- Sound and Graphics Card: Most modern cards are supported
4.1.2a Burning the ISOs to a DVD
When you burn the downloaded ISO files to a DVD it's important to remember to burn them as ISOs/images with your CD/DVD writer software, or the media won't be bootable.4.1.2b Creating a USB stick
The ISO can also be put on an USB stick, see instructions for this for for MS Windows, Apple MacOS, openSUSE and other GNU/Linux here:https://en.opensuse.org/Create_installation_USB_stick
4.1.3 BIOS Setup
If your computer won't boot from the DVD or USB media, check that the computer BIOS is configured to boot from CD/DVD or USB.4.1.4 Dual Boot (openSUSE and MS Windows on the same computer)
Having openSUSE and MS Windows installed on the same computer is usually fairly simple if MS Windows was installed first. During installation openSUSE will detect MS Windows and the bootloader will display a menu on each startup letting you choose whether to boot openSUSE or MS Windows.openSUSE needs to be installed on a separate partition/disk. It's recommended to free up space beforehand using a partitioning tool that you're familiar with. But you can also let the openSUSE installer resize your MS Windows partitions - it's strongly recommended to defragment the MS Windows partition before doing so.
4.1.5 Connect Network Cable and Turn on Peripherals
If you connect your network cable and turn on your printer and other peripherals before commencing the installation, there's a good chance of them being autodetected and configured.4.2 The Installation Process
When you're ready, insert the DVD or USB stick and (re)start the computer.Start Installation
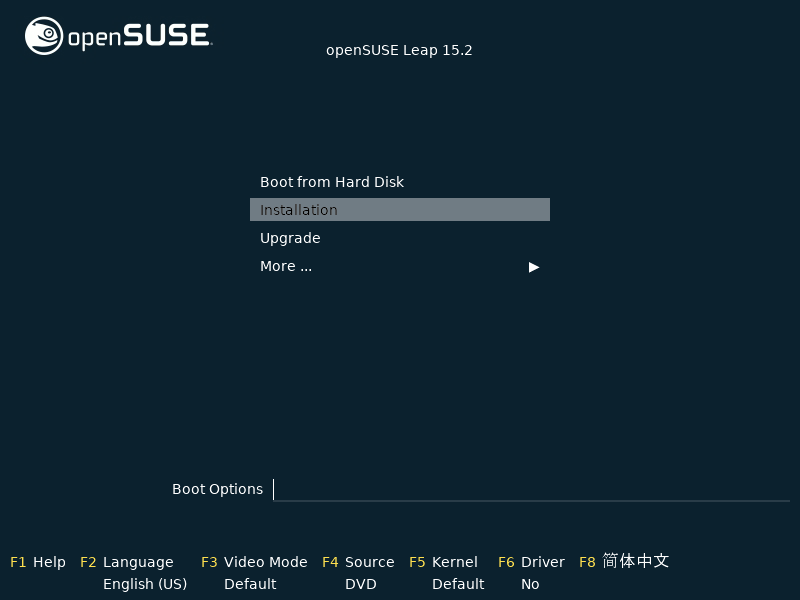 |
You're presented with a menu. Here you can select your desired language and a few other options, afterwards begin installation. |
Language, Keyboard and Licence
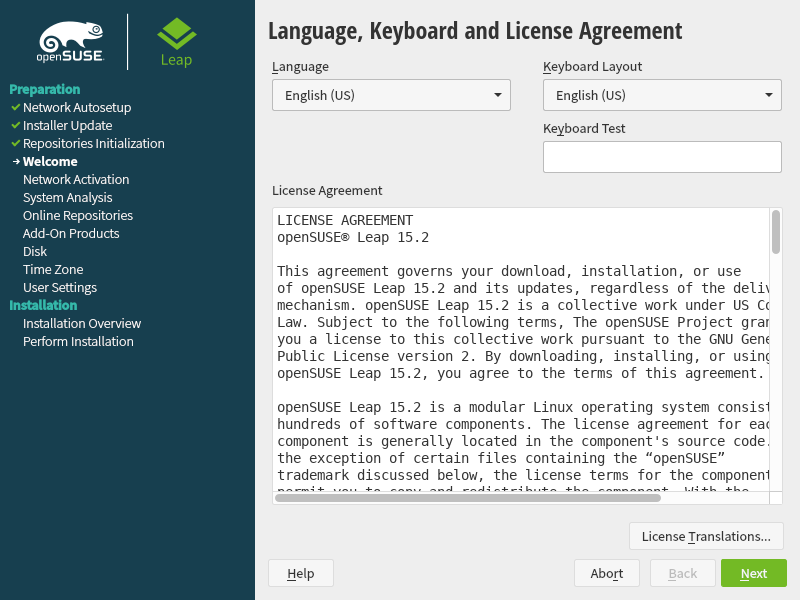 |
The licence agreement is only to inform you of your rights. It doesn't require your acceptance, since it doesn't limit your use. Check that language and keyboard layout are as desired. |
User Interface
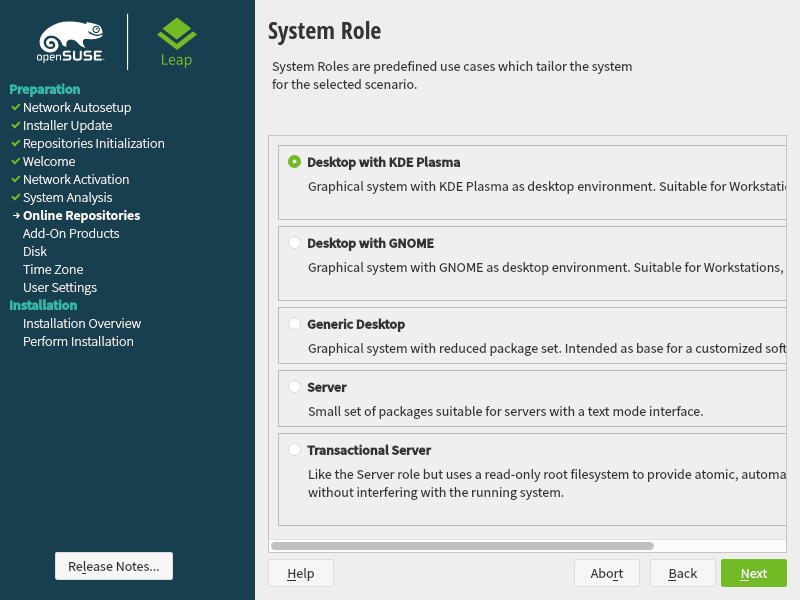 |
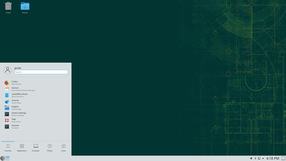
Various different graphical user interfaces (desktop environments) exist for GNU/Linux. The KDE Plasma Workspace is preferred by about 70% of openSUSE users and is also the focus of this guide. But you can also choose the GNOME desktop or a text based server installation etc. |
Partitioning
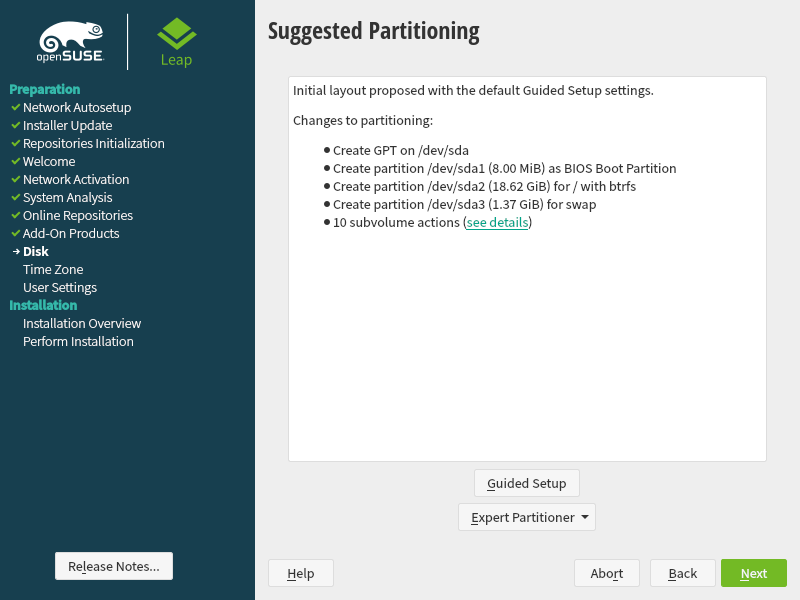 |
By default openSUSE will propose to create three new partitions / (root) for system files, /home/ for personal files of users and swap which is used as a supplement for RAM, similar to the page file in MS Windows. Always check that the partitioning proposal is what you want, and if you're performing a dual boot installation, pay extra attention, to make sure everything is as desired. Note that Linux labels disks/partitions using the following scheme - sda1 is first partition on the first disk, sdb3 is the third partition on the second disk, and so forth. Partitions that will be formatted are written in red text. |
Clock and Time Zone
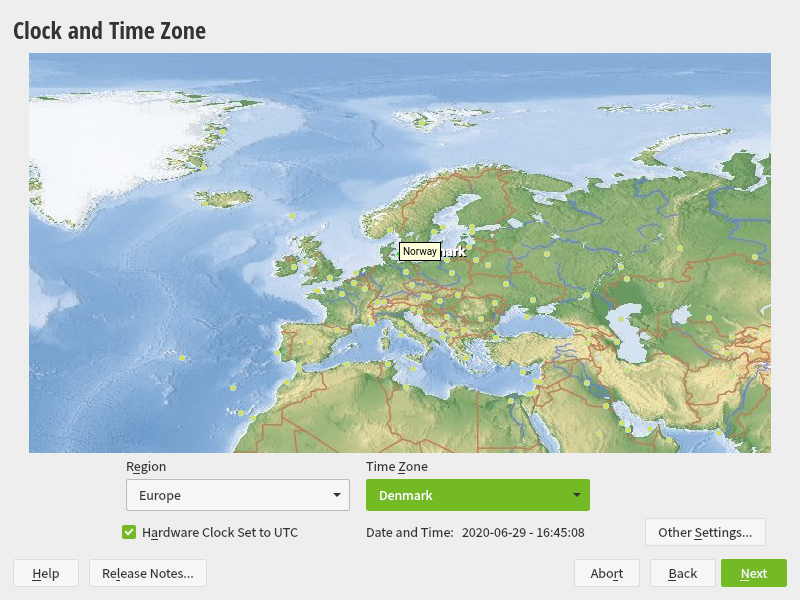 |
Set the timezone here. If you have only GNU/Linux it's recommended to set the hardware clock to UTC, if you dual boot with MS Windows set it to local time. |
Create New User
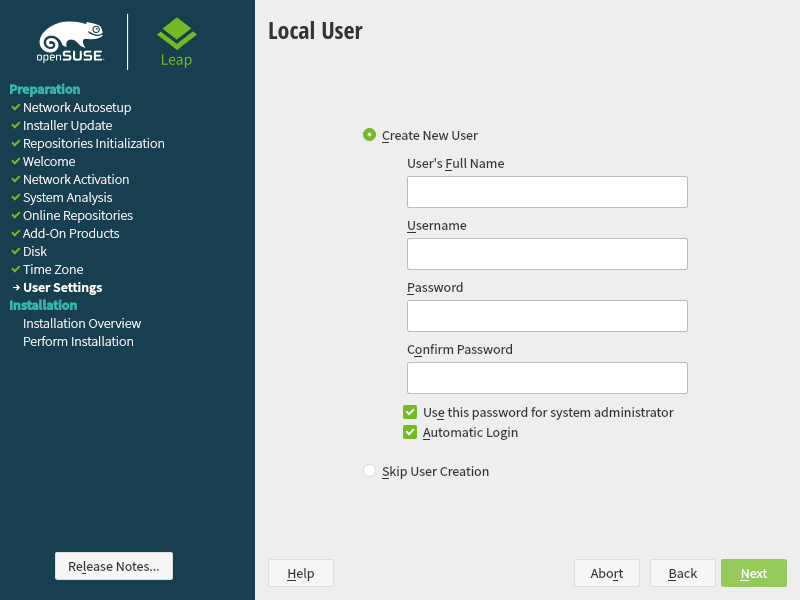 |
Now it's time to create your user. Note that by default the root user (administrator) password will be the same as the password for the normal user. If you want the added security of a separate root password, consider unchecking that checkbox. You may also want to consider disabling autologin to prevent people from easily accessing your system and data. |
Installation Settings
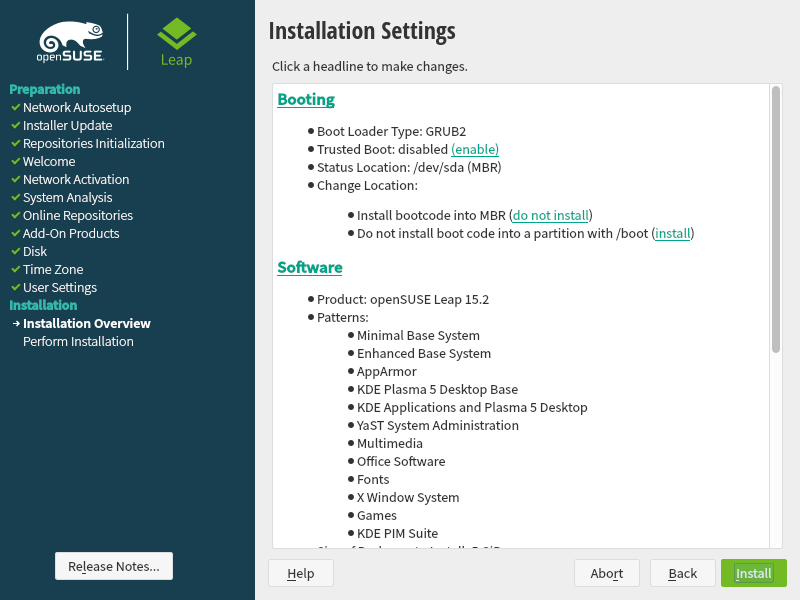 |
Double check that everything is as desired - this is the point of no return! |
Actual Installation
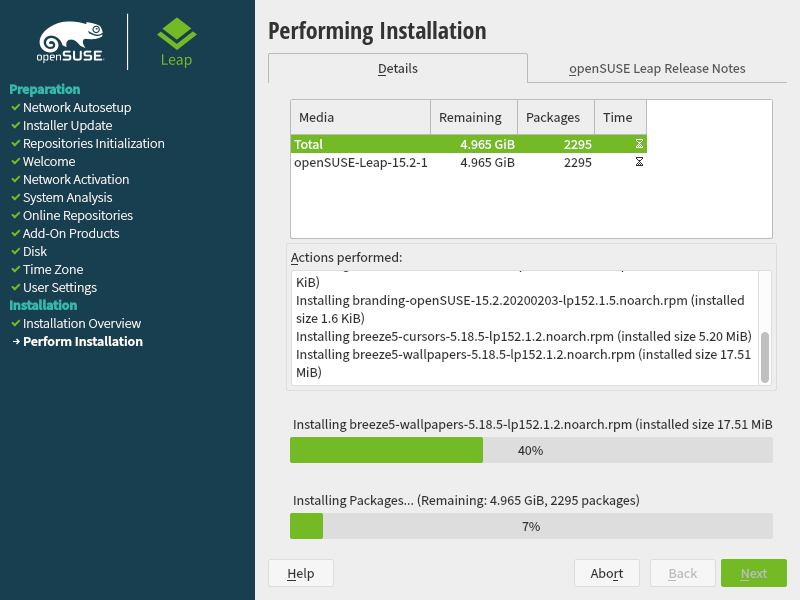 |
Now the actual installation is performed. When it's done the system will reboot and be ready to use. Have a lot of fun with openSUSE! |
 |
 |
Send your comments via e-mail to admin [at] opensuse-guide.org